The Ultimate Guide on How to Install Vinyl Siding
Need to know how to install vinyl siding? This step-by-step guide will take you through the entire process of how to install vinyl siding. From preparing your home to the final inspection, we’ve got all the details covered on how to install vinyl siding. Get ready to transform your home’s exterior with our clear and concise instructions on how to install vinyl siding!
Key Takeaways
-
Proper preparation of the home’s exterior, including removing gutters and repairing wall damage, is crucial for successful vinyl siding installation.
-
Accurate cutting and nailing techniques are essential during the siding installation process to ensure a secure fit and accommodate temperature changes.
-
Final inspection and touch-ups are necessary to ensure all panels are properly secured, providing a polished and professional appearance.
Preparing Your Home’s Exterior
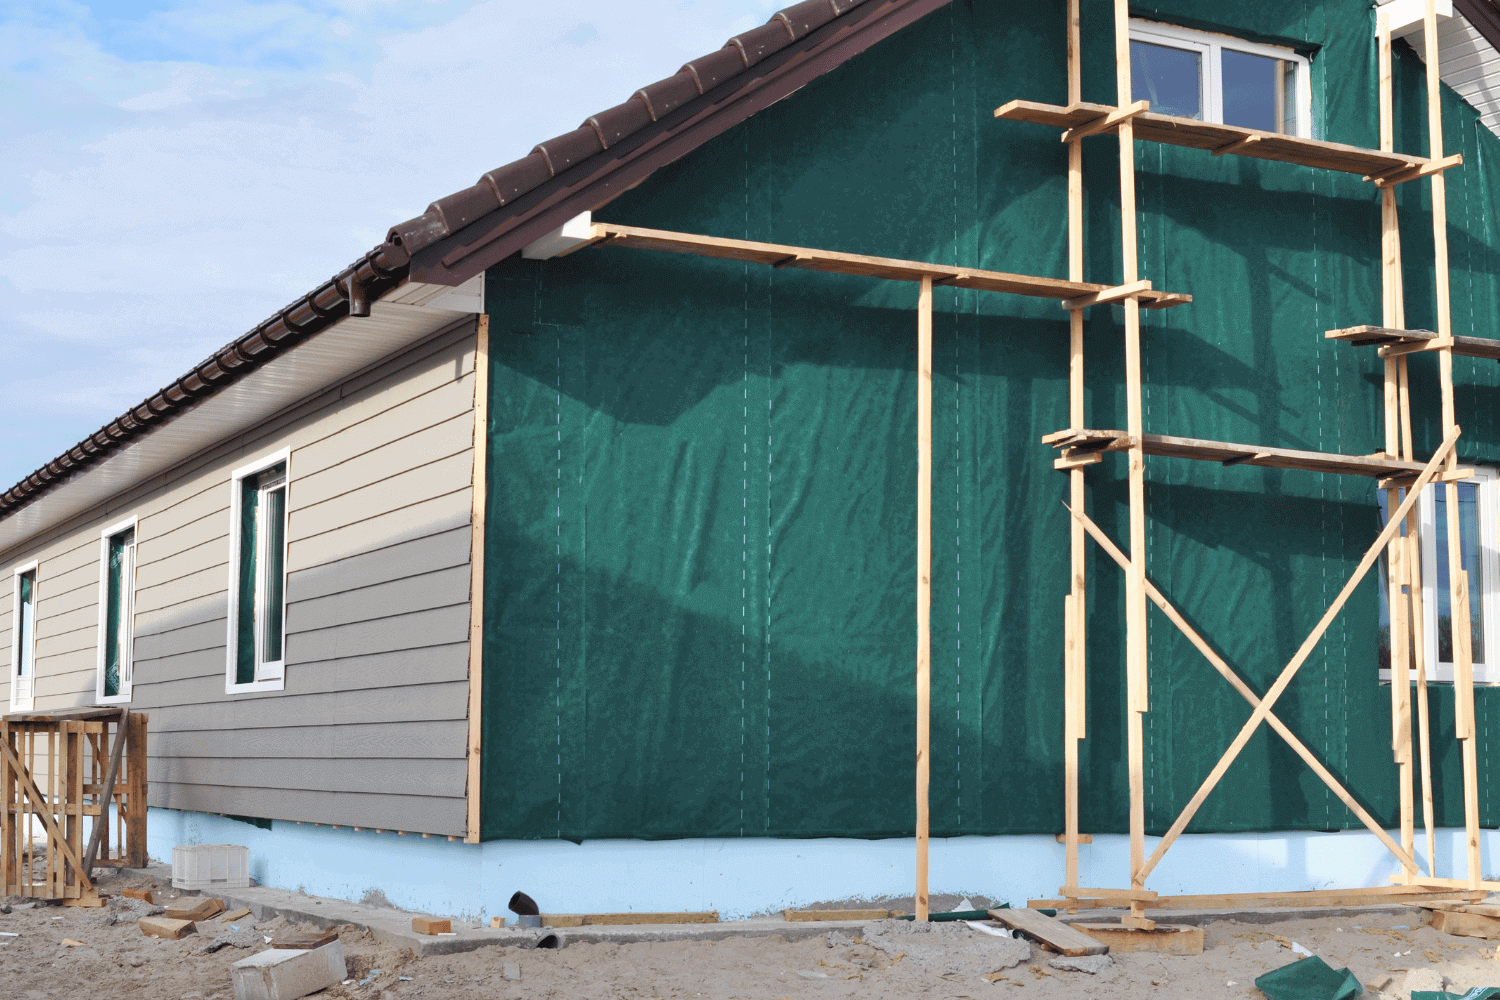
Before starting the vinyl siding installation, properly prepare your home’s exterior. Start by removing any gutters, downspouts, and decorative trim. This step ensures an unobstructed installation process and a clean working surface. At Arocon, we always emphasize the importance of a clutter-free workspace for efficiency and safety.
Inspect your wall surface for any damage. Any cracks or holes should be repaired before installing vinyl siding to ensure a smooth and secure attachment. If your existing siding is in good condition, you can cover it with rigid foam board insulation to create a flat surface for the new siding. This step not only provides a consistent base but also adds an extra layer of insulation to your home.
Lastly, check local building codes as they may require a water-resistive barrier. Clearing the workspace of obstacles helps facilitate the process. These steps set a solid foundation for successful vinyl siding installation.
Gathering Materials and Tools
Gather the necessary materials and tools for the next step. You’ll need corrosion-resistant nails, such as aluminum or galvanized steel, to ensure the longevity of your installation. Vinyl siding panels are, of course, the primary material you’ll be working with.
Hand tools like a hammer, fine-tooth saw, square, and tape measure are necessary for proper installation. A power saw with a reverse fine-tooth plywood blade can expedite cutting vinyl siding. A utility knife, tin snips, or aviation snips are also necessary for cutting and trimming the siding material. These tools ensure precise cuts and a professional finish.
Installing the Starter Strip
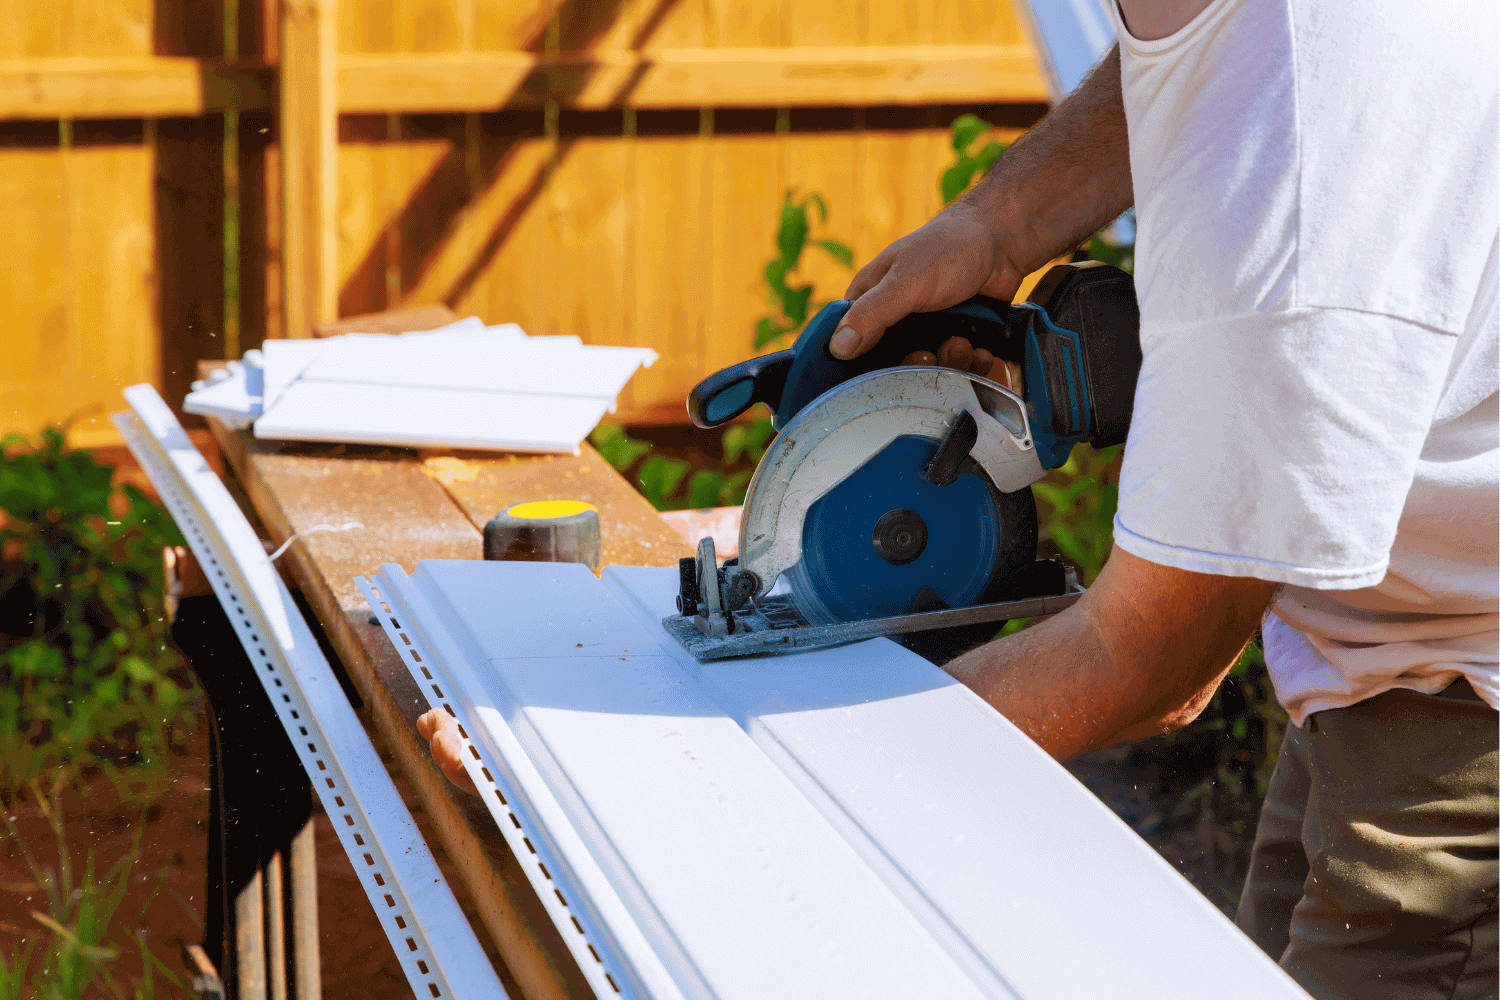
The starter strip is the foundation of your vinyl siding installation. Ensure the starter strip is level, as this determines the alignment of the entire siding. To achieve this, use a level chalk line to mark the placement of the starter strip.
If you’re using insulation or backer board, make sure the starter strip is furred to accommodate the additional thickness. In some cases, a J-channel can serve as a starter strip, providing flexibility in the installation process. A correctly installed starter strip keeps your siding straight and secure.
Installing Corner Posts
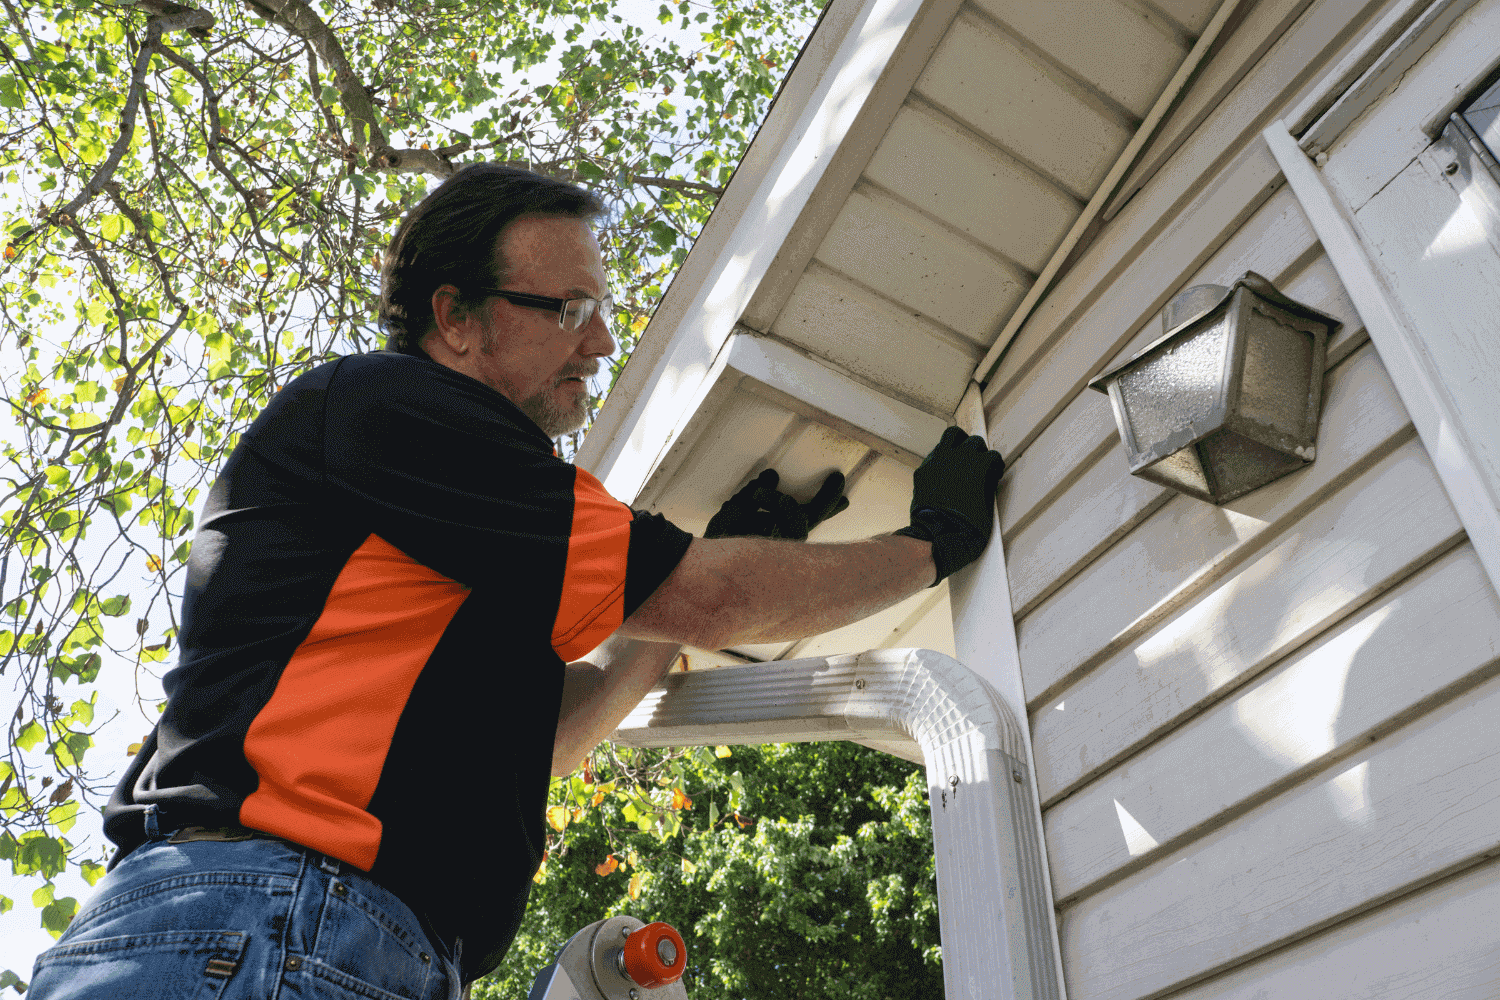
Corner posts are essential for a seamless and professional vinyl siding installation. Begin by cutting the corner posts so that the bottom aligns 1/2 to 3/4 inch below the bottom edge of the first siding row. Align the posts tightly against the soffit and the bottom of the starter strip to ensure proper placement.
Mark vertical lines on the wall to help align the edge of the corner post’s nailing strip. Nail the corner posts loosely to allow for expansion, spacing the nails 12 to 16 inches apart. This allows the corner posts to expand and contract with temperature changes without damaging the siding.
Attaching J-Channel Around Openings
Installing J-channel around windows and doors is crucial for a polished finish. The J-channel conceals the edges of the siding and ensures proper water drainage, preventing water from accumulating behind the siding. Measure carefully, allowing for an expansion gap to avoid cracking in varying temperatures.
When installing J-channel near openings, miter the ends to enhance drainage and provide a seamless look. This attention to detail gives your windows and doors a professional, finished appearance, enhancing your home’s overall aesthetic.
Siding Installation Process
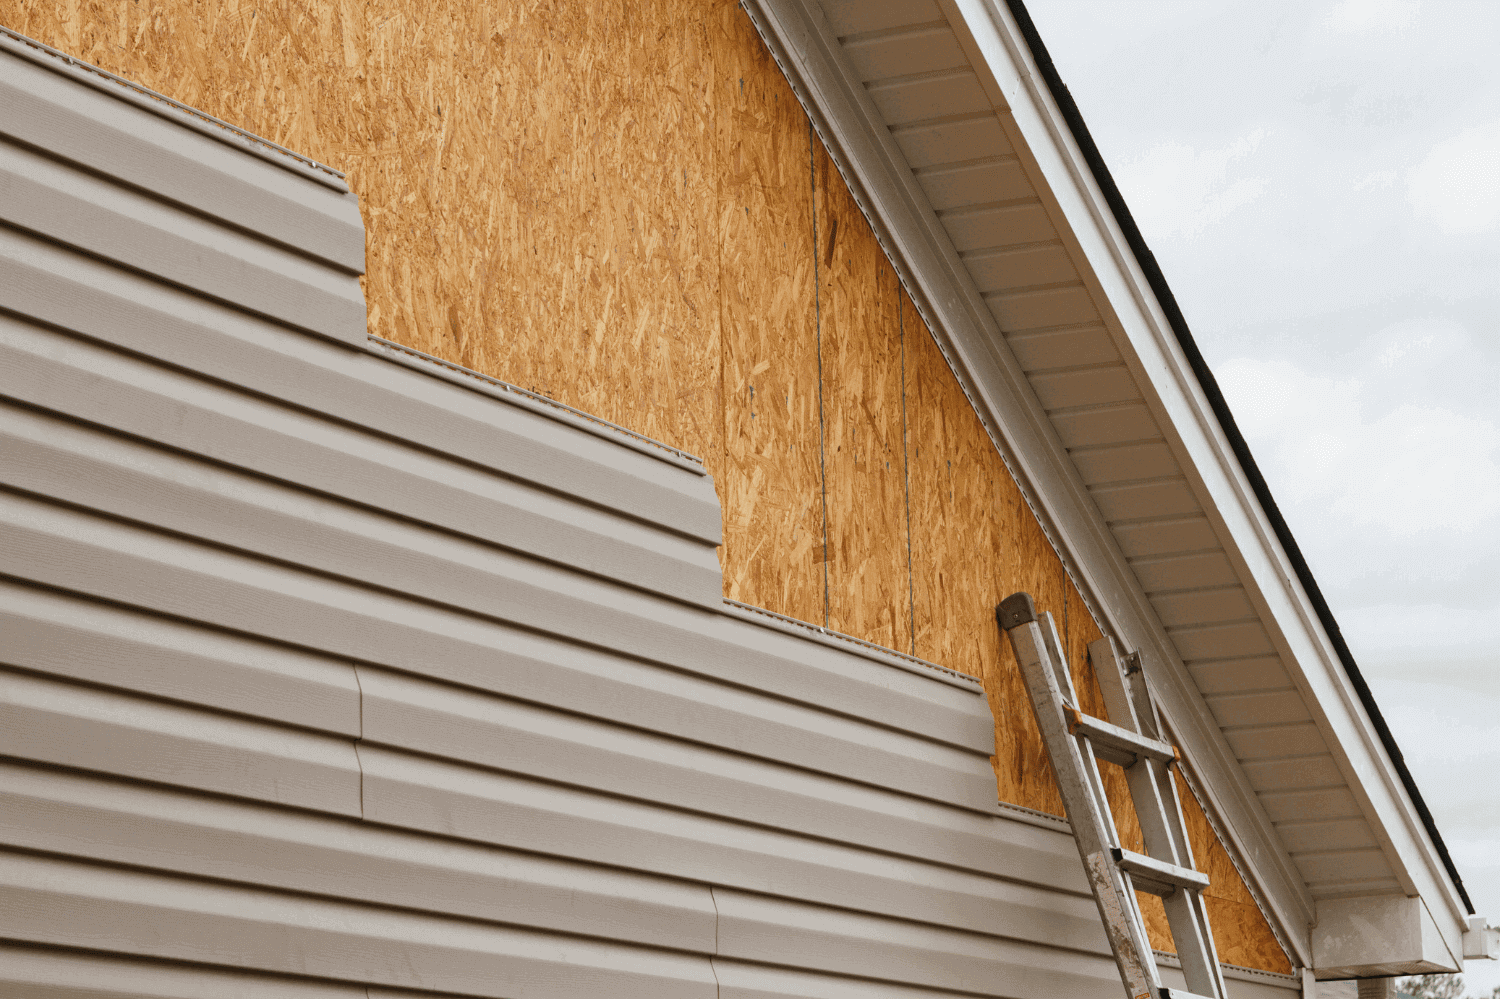
With the foundational elements in place, begin installing the siding panel. This process involves cutting the siding panels to size, nailing them securely, and ensuring proper overlaps to prevent water intrusion. Let’s delve into the specifics of each step.
Cutting Vinyl Siding Panels
Accurately cutting vinyl siding panels is essential for a neat installation. Use tin snips or a circular saw with a fine-tooth plywood blade for precise cuts. These tools help you achieve clean edges and ensure that the panels fit perfectly around windows, doors, and other features.
For smaller cuts and detailed trimming, a utility knife is highly effective. Measure twice and cut once to avoid mistakes and wastage. Properly cut panels fit snugly and contribute to a professional finish.
Nailing Siding Panels
When nailing siding panels, center the nails in their slots to allow for expansion. This prevents the siding from buckling as it expands and contracts with temperature changes. Alternatively, use screw fasteners, leaving a 1/32 inch gap between the nail head and the siding.
Begin by hooking the bottom lip of the first piece of siding under the starter strip, sliding it into the corner, and nailing every 16 inches. This ensures that the siding is securely attached and correctly aligned. Always consult local building codes if you plan to use staples as an alternative fastening method.
Overlapping Panels
Properly overlapping vinyl siding panels is crucial for a seamless appearance and water prevention. Ensure that each section overlaps by 1 inch. Stagger the overlaps to avoid direct alignment, creating a more natural and aesthetically pleasing look.
Dealing with Obstructions
Faucets and external conduits can complicate vinyl siding installation. To install siding under a faucet, remove the screws, pull the faucet out, and notch the siding to fit around it. This allows for a clean and professional finish without compromising the functionality of the faucet. For external conduits, nail insulation backing board around them and trim with J-channel to ensure a neat appearance. Seal the J-channel at points where it meets the conduit to prevent water infiltration. These steps help navigate obstructions while maintaining the integrity of your siding installation.
Soffit and Fascia Installation
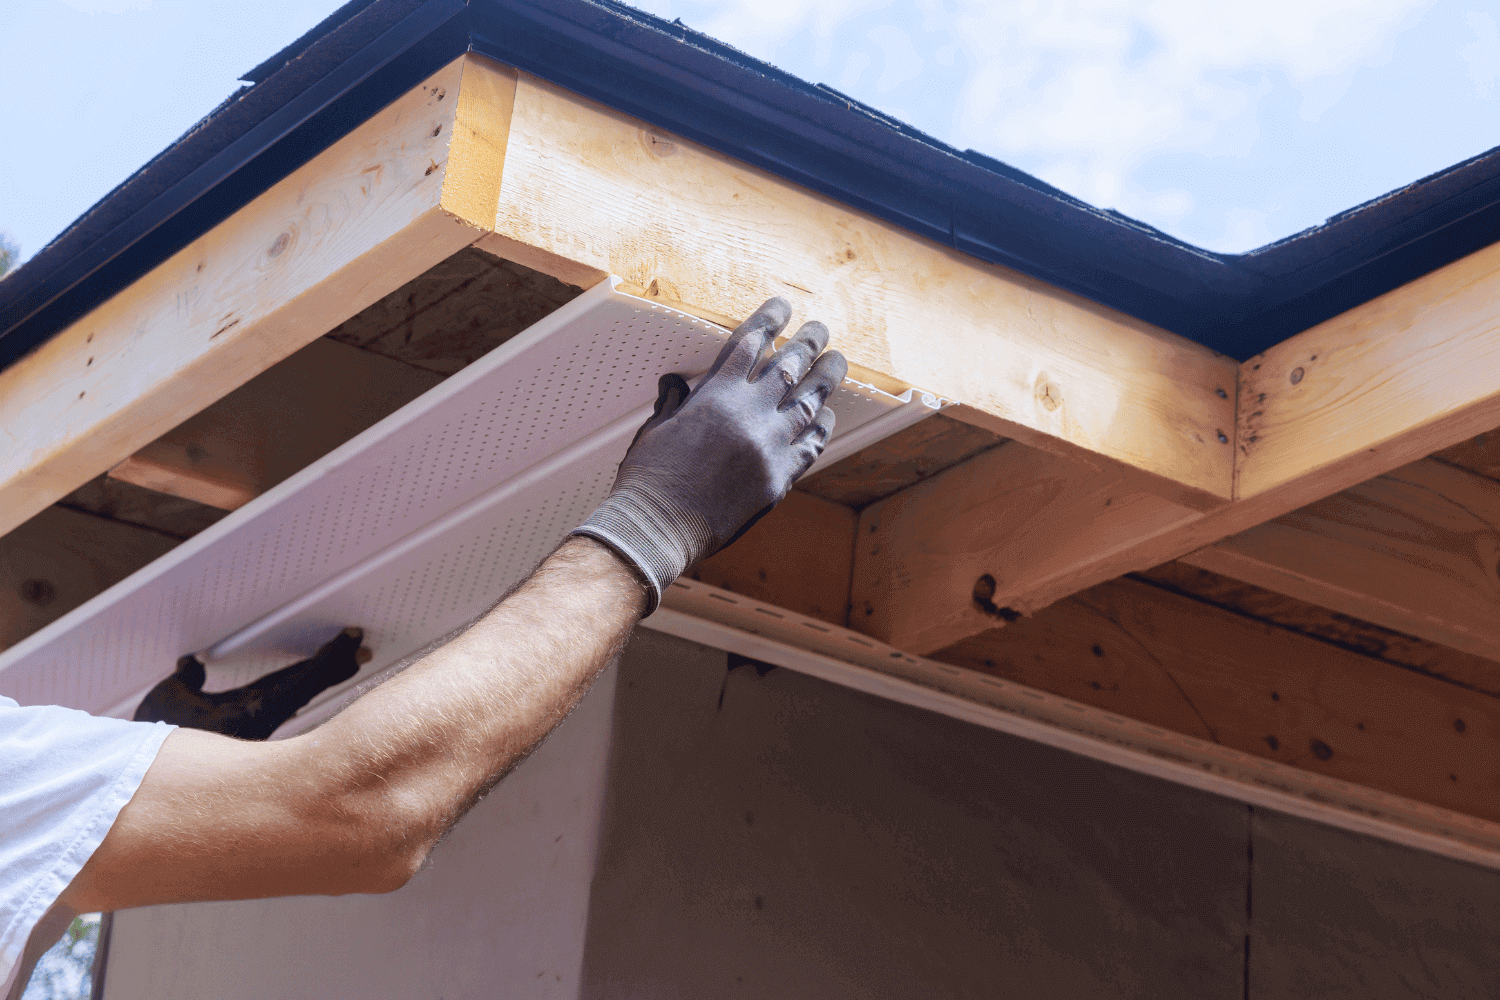
Installing vinyl soffit and fascia completes your vinyl siding project. This involves adding soffit panels and fascia trim to protect the roof’s edge and enhance your home’s appearance. Let’s break down the process into detailed steps.
Installing Soffit Panels
To install soffit panels, start by nailing J-channel against the inner edge of the fascia board. The cut edges of the soffit lengths that meet the fascia are concealed. This results in a cleaner appearance. Soffit pieces typically come in 12-foot lengths, and it’s recommended to allow a 1/4-inch clearance when cutting them.
If the soffit wraps around a corner, nail two J-channels diagonally between the house and roof corners. Secure the installation by nailing utility trim to the wall just below the soffit. This ensures that the soffit panels are properly supported and aligned.
Installing Fascia Trim
Before attaching fascia panels, remove the gutters and apply under-sill vinyl siding trim along the top of the fascia board. Nail the fascia every few feet using 4D galvanized or pre-painted nails for secure attachment.
Use a snap lock punch tool to create slots in the fascia panels and ensure a tight fit. Start nailing from the bottom piece and use roofing nails spaced every foot for stability. This ensures that the fascia trim is securely and neatly installed.
Trimming Around Windows and Doors
Trimming around windows and doors is a critical step to ensure a finished and professional look. This involves measuring, cutting, and securing trim pieces accurately.
Measuring and Cutting Trim
Measure trim pieces carefully to fit snugly around windows and doors, ensuring accurate dimensions for a professional look. Use a utility knife for precise cuts to achieve a clean edge and ensure the trim fits well around the openings. First, cut the trim channel to the length of the sill. After that, nail it into place. Make a 1-inch cut along the corner of the trim channel at the bottom to create a drip-edge tab. This ensures proper water drainage and a neat finish.
Securing Trim Pieces
Install utility trim to stiffen the trimmed section around windows and doors. When placing the trim, the back of the channel should be cut off flush. Nail the trim pieces in place, ensuring they are flush with the siding to provide a neat, finished look. Inspect your finished work to ensure all trim is secured and aligned. This final step is crucial for a professional appearance and long-lasting performance.
Final Touches and Inspection
The final touches and inspection are essential to ensure that your vinyl siding installation is flawless. Inspect the installation to identify any improperly secured boards or gaps that may affect the siding’s performance. Adequately fastened panels allow for proper expansion and contraction of the siding material. Final cleanup involves removing all debris from the installation process to ensure a neat and presentable exterior. This step leaves your home looking polished and ready to withstand the elements.
Summary
In summary, installing vinyl siding involves a series of detailed steps, from preparing your home’s exterior to adding the final touches. By following this guide, you can achieve a professional and durable result that enhances the appearance and protection of your home.
At Arocon, we’ve seen firsthand the transformative power of vinyl siding. We hope this guide inspires you to take on your own siding project and achieve the same impressive results.
Frequently Asked Questions
What are the benefits of using vinyl siding?
Vinyl siding provides affordability, durability, and low maintenance, while effectively protecting against weather damage. This makes it an excellent choice for enhancing your home’s exterior.
Do I need to remove my existing siding before installing vinyl siding?
You don’t necessarily need to remove your existing siding if it’s in good condition. You can install vinyl siding over it by using rigid foam board insulation to ensure a flat surface.
What tools are essential for installing vinyl siding?
To effectively install vinyl siding, you will need a hammer, fine-tooth saw, square, tape measure, utility knife, tin snips, and a power saw with a reverse fine-tooth blade. These tools ensure precision and ease throughout the installation process.
How do I handle installing vinyl siding around obstructions like faucets and conduits?
To install vinyl siding around obstructions like faucets and conduits, remove the faucet, notch the siding accordingly, and reinstall it. For conduits, use insulation backing board and trim with J-channel for a clean finish.
What is the importance of the starter strip in vinyl siding installation?
The starter strip is essential for ensuring the vinyl siding is installed level, which is crucial for proper alignment and the overall security of the siding. Proper installation of the starter strip sets a solid foundation for the entire project.


